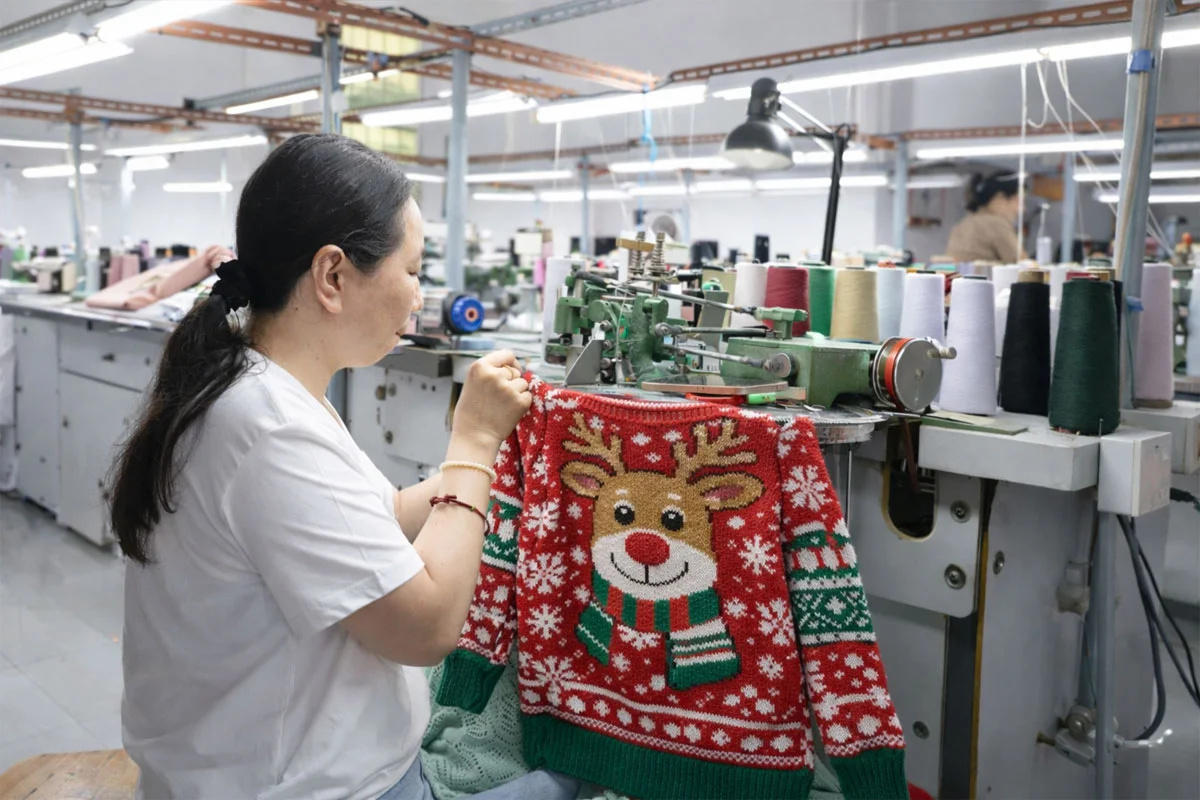
Most brand buyers start by choosing fibre and gauge. Those matter, but the second conversation — how the parts are put together — is what separates a sweater that sells for three seasons from one that gets returned after two washes.
A sweater has five main construction zones: the neckline, the shoulders, the cuffs, the hem, and the ribbing that finishes each edge. The choices made in each zone affect fit stability, longevity, and cost in ways that most sourcing guides do not cover. This article is the missing guide — written from the linking machine side of the factory.
Necklines: binding, folding, and the 4 most common types
The neckline is the first thing a buyer notices and the hardest part of a sweater to construct correctly. A poorly finished neckline stretches out within 10 wears and cannot be fixed.
How necklines are finished: In nearly all sweater constructions, the neckline is a separate knitted band that gets linked (stitch-for-stitch) onto the body panel. The linking operator must match each body loop to a corresponding band loop at consistent tension — this is the skill that takes 6-12 months to develop. The four most common neckline types:
Crewneck (Round Neck)
The simplest neckline. A 2-3 cm band linked in the round. Works at any gauge. Best value for cost. Can be finished with single-layer ribbing or folded double-layer for a premium feel.
Basic Minimal linking timeV-Neck
The V-point requires a reinforced seam where the left and right bands meet. If this intersection is not properly bartacked, the V pulls open over time. Adds approximately USD 0.3-0.6 per piece vs crewneck.
+ Cost V-point reinforcement criticalMock Turtleneck
A 3-8 cm extended neckband that stands without folding. Minimal extra linking work but uses slightly more yarn. A popular middle ground between crewneck and full turtleneck.
Basic Slimmer yarn usage increaseFull Turtleneck
A 12-18 cm folded neckband that doubles the fabric. Requires longer ribbing and a fold-line stitch. Adds USD 0.8-1.5 per piece but commands a higher retail price point.
Premium Most expensive necklinePros and cons at a glance:
| Neckline type | Cost impact | Durability | Best use |
|---|---|---|---|
| Crewneck | Baseline | Excellent | Any brand starting out; works for any gauge |
| V-neck | + USD 0.3-0.6 | Good (with reinforcement) | Men's polos, women's cardigans |
| Mock turtleneck | + USD 0.2-0.5 | Good | Modern basics, unisex collections |
| Full turtleneck | + USD 0.8-1.5 | Very good | Premium winter; higher retail tier |
Shoulder construction: set-in, raglan, saddle, and dropped
The shoulder join is where the sleeve meets the body. It determines how the sweater drapes on the wearer and how much range of motion the arm has. Four types dominate the market:
- Set-in shoulder (standard) — The sleeve is joined to the body at a right angle. This is the most common construction for classic-fit sweaters. The linking seam sits on top of the shoulder, creating a tailored line. Cost: baseline. Durability: high, because the seam is straight and can be reinforced.
- Raglan sleeve — The sleeve extends diagonally from the neckline to the underarm. This creates a sporty, casual look with more arm freedom. Cost: +USD 0.5-1.2 per piece. The diagonal linking requires more skill and the sleeve panel is longer. Used heavily in golf and athleisure sweaters.
- Saddle shoulder — A small rectangular panel sits on top of the shoulder, bridging the front, back, and sleeve. This adds a tailoring detail that reads as premium. Cost: +USD 1-2 per piece. Works best with fine-gauge yarns (12G-14G).
- Dropped shoulder — The shoulder seam is moved down onto the arm, creating an oversized silhouette. This is the cheapest construction because it uses fewer linking steps — the body and sleeve can be a continuous shape. Cost: 10-15% less than set-in.
For most brand buyers launching a private label collection, set-in shoulder is the recommended starting point. It is cost-effective, fits the widest range of body types, and matches buyer expectations for a "normally fitting" sweater.
Cuffs and hems: ribbing dimensions and finish types
Cuffs and hems are the unsung quality markers of a sweater. Buyers rarely spec them precisely, then wonder why the sleeves curl up or the hem rolls after the first wash.
Standard ribbing dimensions:
| Zone | Standard length | Ribbing ratio | Typical gauge |
|---|---|---|---|
| Cuffs (regular) | 6-8 cm | 60-70% of body width | 1 step tighter than body |
| Cuffs (heavy / finished) | 8-12 cm | 55-65% of body width | 2 steps tighter than body |
| Hem (bottom band) | 4-6 cm | 65-75% of body width | 1 step tighter than body |
| V-neck collar band | 2-3 cm | 50-60% of neckline width | Same as body or 1 tighter |
Three finish types for cuffs and hems:
- Single-layer ribbing — One layer of rib knit linked directly. Most common. Cost-effective. Elasticity depends on rib stitch tightness.
- Double-layer (folded) ribbing — The ribbing is knitted longer and folded back on itself, then linked. The folded edge creates a clean finish with no raw edge visible. Adds USD 0.3-0.5 per piece. Used on premium sweaters where the inside finish matters.
- Contrast ribbing — A different colour or yarn blend for the ribbing sections. Common in collegiate and retro styles. Adds yarn-switching setup time (USD 30-60 one-time) plus USD 0.3-0.8 per piece.
Ribbing: the elastic backbone of every sweater
Ribbing is not just for cuffs and hems — it is also used for neckbands, side slits, and button bands on cardigans. The stitch pattern determines how much the edge stretches and recovers.
- 1×1 rib — Alternating knit and purl columns. Maximum stretch. Most common for standard cuffs and crewneck bands. Elasticity: high.
- 2×2 rib — Two knit, two purl. More structured, less stretchy. Used for cardigan button bands, heavier cuffs, and bottom hems where a stronger finish is desired.
- 3×2 or 3×3 rib — Wide stretch zones. Creates a chunky, retro look. Used on heavy-gauge sweaters and Nordic-style garments. Less common in commercial production.
- Half-cardigan (tuck) rib — A tuck stitch on alternating rows creates a thicker, warmer rib. Adds about USD 0.5 per piece in extra yarn and slower knitting speed. Used on premium outdoor-style sweaters.
Key rule: ribbing should always be knitted on a gauge 1-2 steps tighter than the body. If the body is knitted on a 7G machine, the ribbing should be on a 9G or 10G. This ensures the cuff and hem grip rather than sag.
Other construction details that matter
Beyond the five main zones, several smaller decisions affect the finished product:
- Side seams — Fully-fashioned (shaped) sweaters have no side seam; the body panel is knitted to width. Cut-and-sew sweaters have a side seam where two flat panels are joined. Fully-fashioned is more expensive but drapes better. Most European and premium brands insist on fully-fashioned construction.
- Button bands (cardigans) — Must be reinforced with interfacing or a tighter stitch to prevent stretching from the button weight. A common failure: the button band stretches 1-2 cm within 30 wears, making the cardigan hang open.
- Pocket construction — Kangaroo pockets need a stay stitch at the bottom corners to prevent tearing. Patch pockets should be linked, not top-stitched, on premium knitwear.
- Shoulder seam tape — A simple strip of stay tape on the inside shoulder seam stabilises the join and prevents stretching. Adds USD 0.15-0.3 per piece. Almost all our larger orders include this.
How construction choices affect cost
Every construction detail has a cost. Here is how the main decisions stack up for a typical 300-pc order:
| Detail | Basic choice | Cost | Premium choice | Cost add |
|---|---|---|---|---|
| Neckline | Crewneck | Baseline | Turtleneck | + USD 0.8-1.5/pc |
| Shoulder | Set-in | Baseline | Raglan | + USD 0.5-1.2/pc |
| Cuff finish | Single-layer | Baseline | Double-layer folded | + USD 0.3-0.5/pc |
| Ribbing style | 1×1 rib | Baseline | Half-cardigan | + USD 0.5/pc |
| Side seam | Cut-and-sew | Baseline | Fully-fashioned | + USD 1-2/pc |
| Shoulder tape | None | Baseline | Stay tape | + USD 0.15-0.3/pc |
Total swing between an entry-level and a premium construction specification: approximately USD 3-6 per piece. At 300 pcs, that is USD 900-1,800 total — a small investment for a significantly better product. On a 500-pc order, the cost difference is meaningful and should be weighed against target retail price.
How to spec construction details in your tech pack
When writing a tech pack or design brief for a factory, these six fields cover 90% of the construction decisions:
- Neckline type — Crew / V / mock / full turtleneck. Specify height in cm.
- Shoulder type — Set-in / raglan / saddle / dropped.
- Cuff length and finish — Single or double-layer. Width at the knit-off edge.
- Hem type and length — Bottom band depth in cm. Straight or shaped (curved at sides).
- Ribbing pattern — 1×1 / 2×2 / other. Specify if contrast colour is wanted.
- Side seam construction — Fully-fashioned or cut-and-sew. If cut-and-sew, specify seam finish (overlock / linked).
Including these six fields in your initial brief saves at least one round of quoting. Most factories will default to crewneck + set-in + single-layer 1×1 rib — which may or may not match your design intent. Specifying up front avoids the "but that is not what I meant" moment at the PP sample stage.
Need help spec'ing your sweater construction details?
Send us your design sketches or reference images, and we will translate the visual design into a factory-ready construction spec — neckline, shoulder, cuffs, hem, and ribbing. Free quote within 1-2 working days.